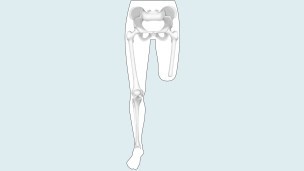
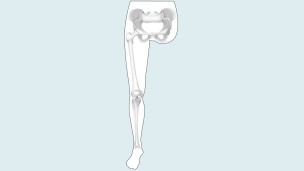
What should you expect after an amputation?
After the amputation your residual limb will be bandaged with dressing and possibly an Immediate Post-operative Prosthesis (Check out our post about the IPOP https://www.ipsprosthetics.com/immediate-post-operative-prosthesis-ipop-instructions/). Your doctor’s main goal here is to quickly heal the surgical site and to prepare your residual limb for your future prosthesis.
The focus during the initial period after the operation is on three goals: You should have little to no pain, your residual limb should be able to bear weight, and you should be able to move your residual limb optimally in all directions. It is imperative to try and keep your knee or your hip joint as extended as possible to prevent joint contractures. A contracture is a condition of shortening and hardening of muscles, tendons, or other tissue, often leading to deformity and rigidity of joints.
In order for all of this to succeed, it is important for you to have your doctor, nurse, prosthetist or physical therapist show you a few important things right after the operation. This includes correct positioning in bed so that the muscles and the joint adjacent to the residual limb don’t retract or become stiff, as well as regular exercise. This will allow you to be fit more quickly and easily with a prosthesis so that you can remain mobile and active. Everyone is different, healing rates for everyone are different.
Wound healing of the residual limb
When you wake up from the anesthesia, your leg will have likely been treated with simple bandages or a plaster cast with a small drainage tube leading out of it. This tube was laid into the wound during the operation so that wound seepage and blood can flow out of the wound, and will be removed from the wound during the healing process. Sometimes an Immediate Post-Operative Prosthesis (IPOP) is added to protect the residual limb and to keep the knee as straight as possible to get ready for prosthetic care.
In most cases the amputation wound closes and forms a scar within the first three to four weeks. But even if the scar looks like it has healed well from the outside and only the color of the scar tissue is changing slightly, complete healing of the scar will take significantly longer.
During this period compression therapy and skin care creams are enormously important in helping the scar tissue remain soft and pliable—while simultaneously developing the ability to bear weight so that it’s possible to wear the prosthesis.
Compression therapy
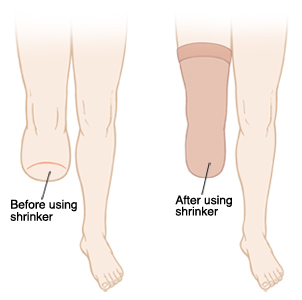
With the aid of pressure applied to the residual limb over a large surface area, swelling (edema) of the residual limb can be reduced and the residual limb can be formed for the future prosthetic fitting. This compression of the residual limb contributes to being able to do your prosthetic fitting as soon as possible and to making it easier to adjust your prosthesis. In addition, compression aids circulation in the residual limb. This reduces the amount of pain and results in improved healing of the scar.
Various techniques are used for compression therapy: The residual limb may be wrapped with an elastic bandage, or compression socks or a prefabricated silicone liner may be worn. This will be determined by the medical staff.
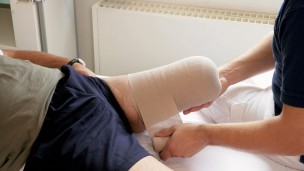
Bandaging
Compression bandages are applied using a special wrapping technique after the wound bandage or residual limb cast is removed. During the first few days and weeks after the operation, your residual limb will be bandaged by your therapist or by the nursing staff. This somewhat elaborate compression involving elastic bandages can be customized to your individual residual limb amputation level.
The bandage will be removed frequently in order to make sure the residual limb was not wrapped too tightly or too loosely. The caregiver will also check to see how the residual limb is healing, whether the edema is getting better, and how the scar is healing. After sufficient healing, the compression bandage may only be worn for several hours at a time.
Later on, your caregivers can show you how to apply the compression bandage yourself. Make sure you have the wrapping process explained to you in detail in order to avoid mistakes which could lead to renewed swelling of the residual limb, or to irritation or injury made by folds in the bandage or wrapping that’s too tight. To avoid injurying your sensitive residual limb, use tape on the bandages instead of metal clips.
It is also important that you clean the bandages thoroughly. Since the bandages absorb sweat, they should be washed daily with a mild detergent or a mild soap. Remove the majority of the water by rolling them up gently in a towel, then lay them out flat to dry. Do not hang the bandages up to dry, as this can affect their elasticity.
You have to wear your compression bandages until your residual limb is fully healed. As soon as everything has healed, you can try sleeping through a night without wearing the bandage, but only after consultation with your doctor, prosthetist, or physical therapist. However, if you experience a lot of swelling in the residual limb the next morning, you should continue with the compression therapy.
Residual limb compression socks
Compression socks can also be used instead of bandages. The socks are also elastic and available in various sizes. Custom sizes can also be made if the standard sizes do not fit you. Like elastic bandages, the socks must be washed daily and laid out to dry so that they do not lose their elasticity.
The advantage of residual limb socks is that they are easy to put on and take off. You can use suspenders attached to a hip belt to hold the socks up. Or you can use a pelvic band which is fastened permanently to the sock. The compression sock is usually fit by your prosthetist. If you need one, please give us a call, we would love to help you.
Silicone liners
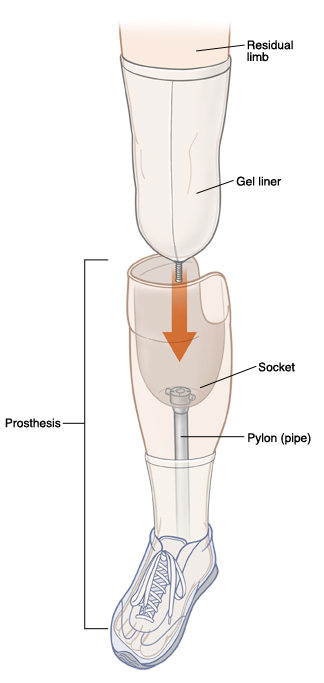
In addition to elastic bandages and residual limb socks, silicone liners offer a further method for achieving compression. Similar to residual limb socks, silicone liners are available in standard sizes as well as customized fabrications. The liner exerts even pressure on your residual limb and forms it properly. In addition, the flexible, skin-friendly silicone can help make the scar soft and pliable.
To put the liner on, it is best to first turn it inside out and then roll it evenly onto your residual limb. Don’t pull it up like a sock, and take special care to ensure that no folds or air pockets form. Make sure the distal end is completely rolled inside out and pressed against your distal end to ensure no air is in the liner.
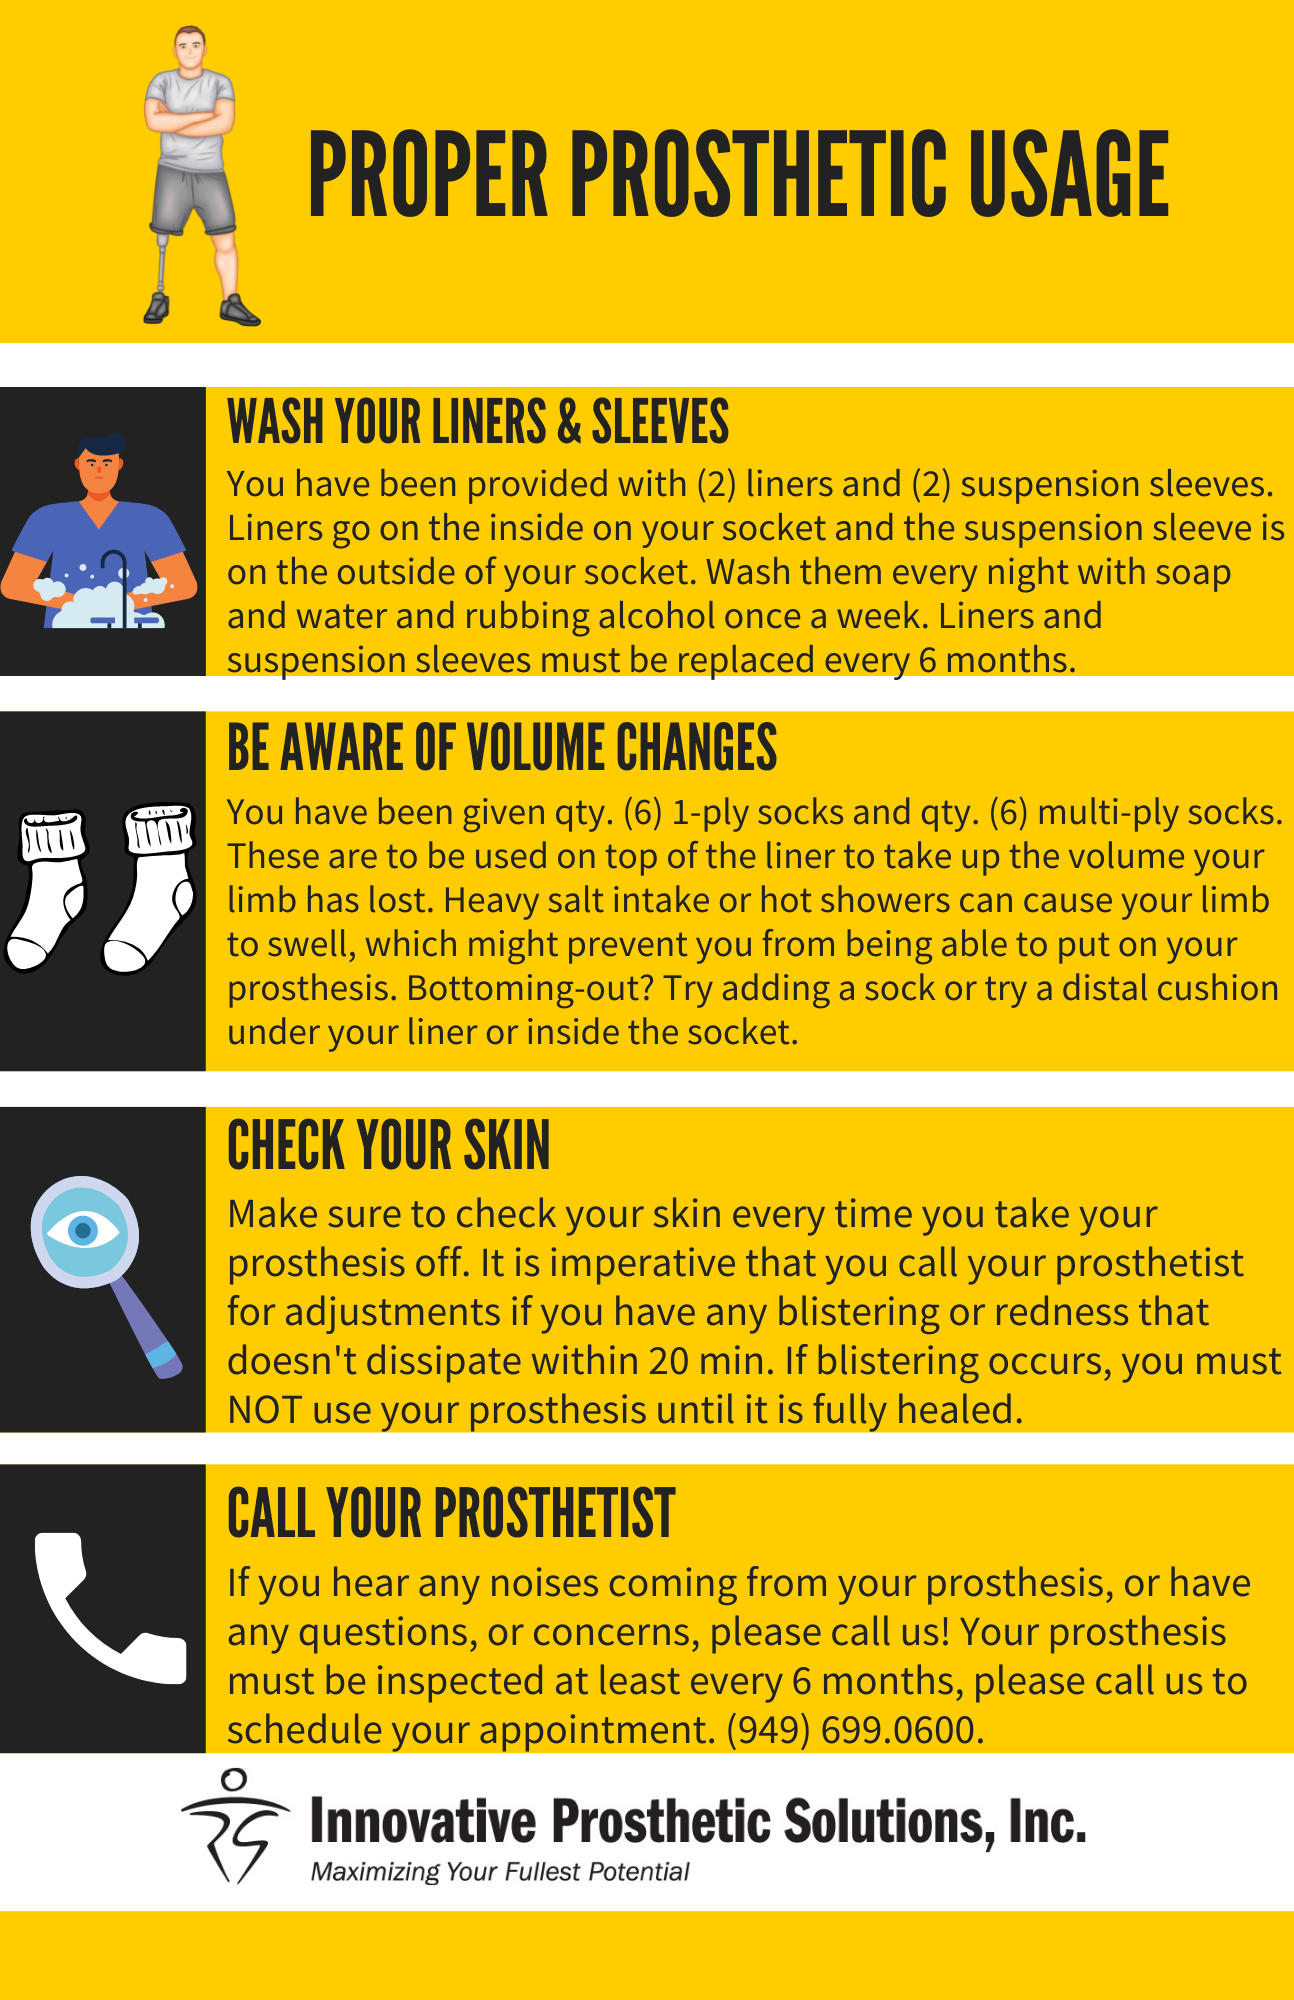
Clean your liner daily with a skin-friendly, unscented soap and warm water. If you sweat a lot, you should clean it several times a day and possibly use a disinfectant. Have your prosthetist explain the care of your liner in detail and follow directions in your user’s manual. Typically you receive two liners, that is so you can use one and wash one. They should be interchanged every day.
Caring for the residual limb
Although the nursing staff and the doctors were initially cleaning the wound and changing the bandages, now that you are in the rehabilitation phase you will be caring for your residual limb and your sound leg yourself.
How to properly care for your residual limb
Your therapist or prosthetist will show you how to properly care for your residual limb. In order to prevent the skin from becoming rough and scaly, wash the residual limb with warm water and a mild soap every morning and evening. Then dry the skin thoroughly or carefully dab it dry and put cream on it. For suggestions of lotions to buy please give our office a call, we can give you a list of products to try that are specifically formulated with amputees in mind.
If folds of skin or retracted scars, also known as invaginations, have formed on the residual limb, they must receive particularly care in order to prevent infections. Have your rehabilitation team advise you in this regard. In addition, look out for injuries, pressure sores, and blisters while you care for your residual limb. These must receive medical treatment. A mirror can help you look at the back of your residual limb. Regular massaging and careful stretching of the scar is another important component of residual limb care.
Also note that putting the prosthesis on in the morning right after you wash is often more difficult than usual, since warm water causes the skin on the residual limb to swell. Food intake and weather can also affect the size of limb, which could make it difficult to don the prosthesis.
Caring for the sound leg
After the amputation, when the residual limb is not yet able to bear a lot of weight, it’s common to put more weight—and stress—on the sound leg. Work with your care team to find the best ways to keep you sound side healthy.